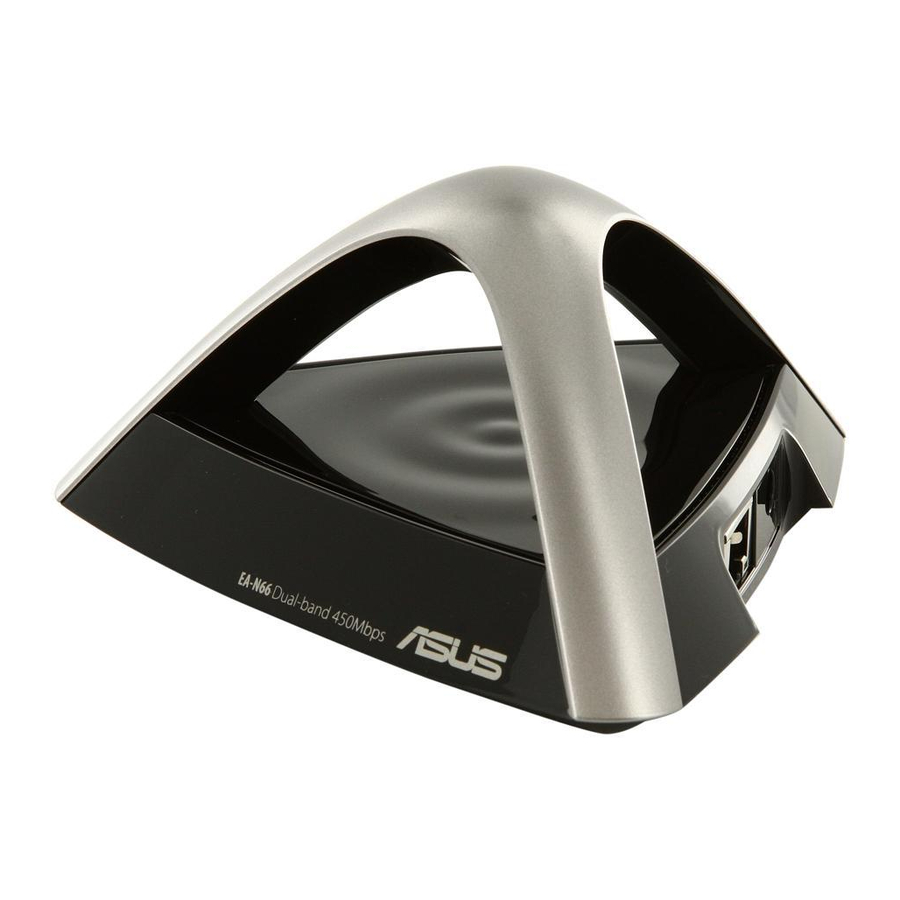
Asus EA-N66 Quick Start Manual
Dual-band wireless-n
ethernet adapter
Hide thumbs
Also See for EA-N66:
- Quick start manual (179 pages) ,
- Quick user manual (36 pages) ,
- Setup manual (26 pages)
Summary of Contents for Asus EA-N66
- Page 1 ® EA-N66 Dual-band Wireless-N Dual-band Wireless-N Ethernet Adapter Ethernet Adapter 雙頻無線乙太網卡 Quick Start Guide...
- Page 3 English ..............4 E7020 / First Edition / Nov. 2011...
- Page 4 Blinking fast: Active connection Blinking slow : Poor connection Blinking slow with low light: site survey NOTE: To get a better signal, move EA-N66 closer to the other devices. 4) Air vent 5) Mounting hole 6) WPS button 7) Reset button...
-
Page 5: Package Contents
1/4’’ is showing. Latch the hook of your EA-N66 onto the screw. NOTES: • Re-adjust the screw if you cannot latch EA-N66 onto the screw or if it is too loose. • The screw is not included in the EA-N66 package contents. -
Page 6: Connecting To A Wireless Network
LED indicator Wa ll Power Outle t Insert your EA-N66’s power adapter to the DC-In port and plug it to a power outlet. Using the bundled network cable,... -
Page 7: Wireless Network
Press the WPS button on the router. NOTE: Refer to the router’s user manual for the location of its WPS button. f. Check if EA-N66’s LED indicator turns a solid blue, which indicates that EA-N66 has successfully connected to the wireless network. - Page 8 Follow the onscreen instructions to complete the wireless connection setup. e. Check if EA-N66’s LED indicator turns a solid blue, which indicates that EA-N66 has successfully connected to the wireless network. NOTE: For details on the LED indicator, refer to page 4.
-
Page 9: Operation Modes
NOTE: Please follow the GUI Setup Wizard for these modes. Ethernet Adapter mode By default, EA-N66 is set to the Ethernet Adapter mode. In this mode, you can con- nect any Ethernet-enabled device to your wireless home network via EA-N66. This... -
Page 10: Frequently Asked Questions
Frequently Asked Questions Q1: I cannot access the web GUI to configure the EA-N66 settings. • Close all running web browsers and launch again. • Follow the steps below to configure your computer settings based on its operating system. Windows 7 A. - Page 11 B. Set the TCP/IP settings to automatically obtain an IP address. Click Start > Control Panel > Net- work and Internet > Network and Sharing Center > Manage network connections. Select Internet Protocol Version 4 (TCP/IPv4), then click Properties. Tick Obtain an IP address automatically.
- Page 12 Mac 10.5.8 A. Disable the proxy server, if enabled. From the menu bar, click Safari > Preferences... > Advanced tab. Click Change Settings... in the Proxies field. From the list of protocols, deselect FTP Proxy and Web Proxy (HTTP). Click OK when done.
- Page 13 B. Set the TCP/IP settings to automatically obtain an IP address. > System Click the Apple icon Preferences > Network. Select Ethernet and select Using DHCP in the Configure field. Click Apply when done.
-
Page 14: Support Hotline
SUPPORT HOTLINE USA/ CANADA Hotline Number: 1-812-282-2787 Language: English Availability: Mon. to Fri. 8:30-12:00am EST (5:30am-9:00pm PST) Sat. to Sun. 9:00am-6:00pm EST (6:00am-3:00pm PST) BRAZIL Hotline Number: 4003 0988 (Capital) / 0800 880 0988 (demais localidades) Language: Portuguese Availability: Mon. to Fri. 9:00am-18:00... - Page 15 ASUSTeK Computer Inc. Tel: +886-2-2894-3447 Address: No. 150, LI-TE RD., PEITOU, TAIPEI 112, TAIWAN Authorised representative in Europe ASUS Computer GmbH Address: HARKORT STR. 21-23, 40880 RATINGEN, GERMANY Authorised distributors in Turkey BOGAZICI BIL GISAYAR SAN. VE TIC. A.S. Tel: +90 212 3311000 Address: AYAZAGA MAH.
-
Page 16: Federal Communications Commission
REACH Complying with the REACH (Registration, Evalua- tion, Authorisation, and Restriction of Chemicals) regulatory framework, we published the chemical substances in our products at ASUS REACH web- site at http://csr.asus.com/english/REACH.htm Federal Communications Commission Statement This device complies with Part 15 of the FCC Rules. -
Page 17: Important Note
that interference will not occur in a particular installation. If this equipment does cause harmful interference to radio or television reception, which and on, the user is encouraged to try to correct the interference by one or more of the following measures: •... - Page 18 Declaration of Conformity for R&TTE directive 1999/5/EC Essential requirements – Article 3 Protection requirements for health and safety – Article 3.1a Testing for electric safety according to EN 60950-1 has been conducted. These are considered relevant and sufficient. Protection requirements for electromagnetic compatibility –...
- Page 19 Industry Canada Statement This device complies with RSS-210 of the industry Canada Rules. Operation is subject to the follow- ing two conditions: • This device may not cause harmful interference. • This device must accept any interference received, including interference that may cause undesired operation.


