Table of Contents
Advertisement
Quick Links
Advertisement
Table of Contents

Summary of Contents for Lenovo ThinkVision L2461x
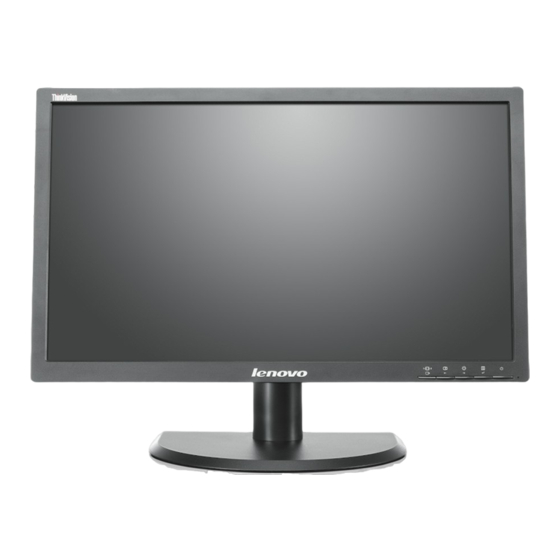
- Page 1 Lenovo L2461x Wide Monitor Multi-touch User’s Guide...
- Page 2 It can be helpful for the understanding and using of this product. If the manual and user guide is not followed or there is misconduct on operation, Lenovo (Beijing) does not hold any responsibility for any lost caused by damage. However, if the damage was conducted by Lenovo engineer during the operation or installation is exempt.
-
Page 3: Table Of Contents
Contents Chapter 1 Introduction ........................... 4 1.1 Touch-Screen Specifications ......................... 4 1.2 Capabilities ............................5 Chapter 2 Installation instruction........................6 2.1 Installing L2461x wide Monitor Multi-touch Driver.................. 6 2.2 Uninstalling L2461x wide Monitor Multi-touch Driver ................8 Chapter 3 Connecting and Switching On ..................... 9 Chapter 4 Operating the Touch Screen ...................... -
Page 4: Chapter 1 Introduction
Chapter 1 Introduction 1-1 Touch-Screen Specifications General Specification Accuracy ±2.5 mm over 95% of touchable area; compliant with Microsoft Windows 7 Logo requirements. Aspect Ratio 16:9 Drift No drift within operating temperature range. Ambient light rejection No effect from 50 W halogen or 58 W fluorescent lights. Test position 1 m above the display, 30°... -
Page 5: Capabilities
1-2 Capabilities The following table shows the touch functionality provided by the Lenovo L2461x Wide Monitor touch screen with different operating systems. Windows 7 Home Premium Professional Starter Ultimate Vista Home Basic Enterprise Single touch mouse Digitiser mode Win 7 multi-touch Multi-touch API HID-compliant, plug-and-play mouse functionality (click, drag, double-click and right-click). -
Page 6: Chapter 2 Installation Instruction
Chapter 2 Installation instruction 2-1 Installing L2461x wide Monitor Multi-touch Driver Installation instructions: 1. Place the product disc into disc player. Find ‘Multi-touch Driver’ and click it. 2. Double-click ‘MT Driver.exe’ executable file. 3. A Windows Setup Dialog Box will appear confirming the installation. Click 'Yes' to confirm installation. - Page 7 8. The L2461x Wide Monitor Multi-touch driver is now installed on your computer.
-
Page 8: Uninstalling L2461X Wide Monitor Multi-Touch Driver
2-2 Uninstalling L2461x wide Monitor Multi-touch Driver To Uninstall the L2461x Wide Monitor Multi-touch driver, follow the instructions below: 1. Click Start>Control Panel>Device Manager>Human Interface Devices>Select NextWindow 1950 Touch Screen (maybe differ for other Operating system) 2. Right Click on NextWindow 1950 Touch Screen and select Uninstall. 3. -
Page 9: Chapter 3 Connecting And Switching On
Chapter 3 Connecting and Switching On Connect the cables and switch on power in the following order: 1. Connect the video cable from the computer to the monitor. 2. Connect power to the monitor and switch on. 3. Connect power to the computer and switch on. 4. -
Page 10: Chapter 4 Operating The Touch Screen
Chapter 4 Operating the Touch Screen Single-Touch Mouse Operation The Lenovo L2461x Wide Monitor touch screen provides full mouse functionality—click, drag, double-click and right-click. • Single click is performed by tapping you finger once on the screen. • Double click is performed by tapping your finger twice on the screen in quick succession. -
Page 11: Chapter 5 Cleaning The Touch Screen
Chapter 5 Cleaning the Touch Screen To clean the touch screen, use a lint-free, soft cloth dampened with standard, household glass cleaning solution as follows: 1. Spray a small amount of glass cleaner onto the cloth. 2. Wipe the glass of the touch screen to remove any dirt, dust, or finger marks. 3.


