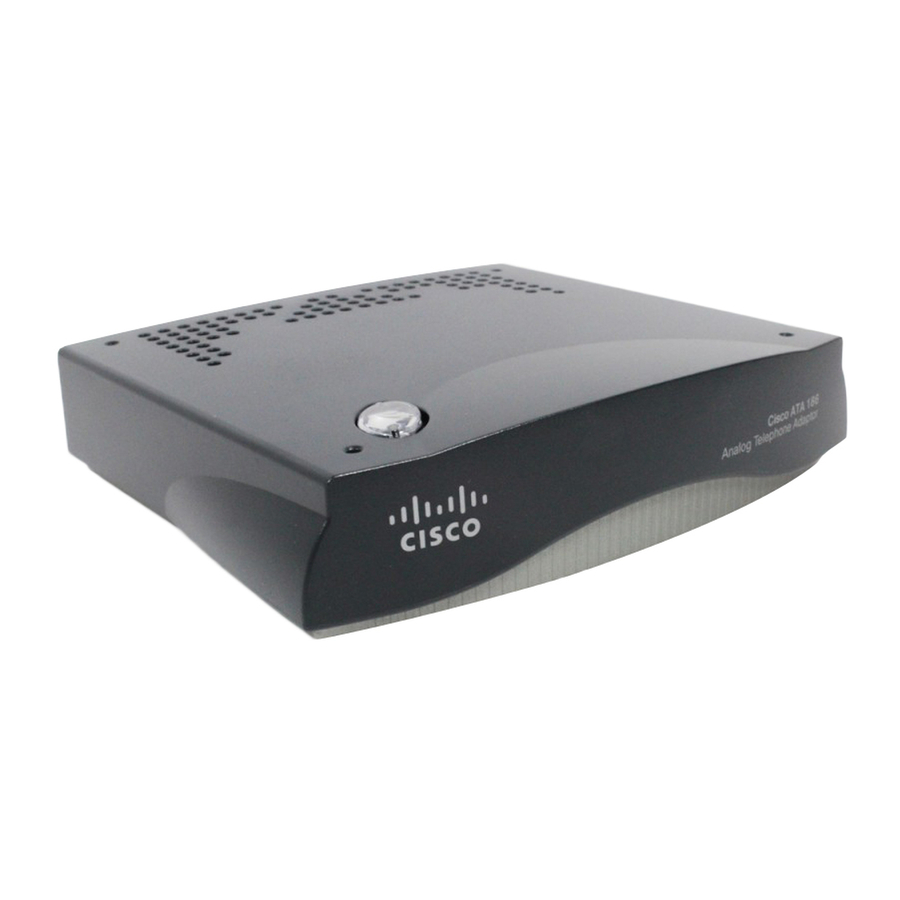
Cisco ATA 186 Configuration
Hide thumbs
Also See for ATA 186:
- Administrator's manual (228 pages) ,
- Installation and configuration manual (13 pages) ,
- User manual (12 pages)
Advertisement
Quick Links
Sample Network setup diagram:
172.16.13.40
IP Network
Gateway
Setting up the ATA
Connect the ATA to the Ethernet port – connect one end of the Ethernet cable to the Ethernet port on the device and the other
end to the LAN/Broadband/DSL port.
Connect the analog phone to the ATA – You can attach up to two analog phones from the ATA.
Connect the ATA to AC mains power outlet – On switching the power on, the button on top of the device blinks red immediately.
Configuring IP address on the device & bringing the ATA online on network
(a) DHCP configuration
If your network utilizes a DHCP server to assign IP addresses to network devices, or if you are connecting the ATA 186 to a
home router such as a Linksys router, follow the steps below:
1.
Connect the telephone to "Phone-1" port of ATA & power on it. Pick up the telephone handset, and press the button on top of
the ATA 186. You will hear a voice prompt that says, "Configuration Menu. Enter menu number followed by the # key..."
To access the DHCP menu, press 20# on your telephone keypad.
2.
Enable DHCP by pressing 1#.
3.
Save the setting by pressing 3.
4.
5.
When the red light on the ATA 186 stops flashing, hang up the phone.
6.
To find out the IP address assigned to the device, pick up the telephone handset, and press the button on top of the ATA 186.
You will hear a voice prompt that says, "Configuration Menu. Enter menu number followed by the # key..."
Press 80# on your telephone keypad.
7.
The system will now read back the IP address of your ATA 186. Please write it down.
8.
Hang up the telephone handset, and proceed to the Configuring Account and Network Settings section to configure your ATA
186 for use with the Total Internet Net Telephony network.
(b) Static IP configuration
If your ATA has a static IP , please disable DHCP .
Access the DHCP menu by pressing 20# on your telephone keypad.
Disable DHCP by pressing 0#.
Save the setting by pressing 3.
The following details need to be entered into the ATA:
IP Address
Default Gateway
Subnet Mask
Please follow the process mentioned below to enter these values into the ATA:
1.
Lift the handset and press the button on top of the ATA
You will hear a voice prompt that says, "Configuration Menu. Enter menu number followed by the # key..."
2.
To enter the IP address, press 1 followed by # and then follow the
instructions given by IVR. Similarly, enter the default gateway and
the subnet mask. The following table lists the menu options that
you will need in order to configure basic IP connectivity to the
ATA.
Press the * key to indicate a delimiter (dot). For example, to enter IP address 203.197.24.154 in "IP address menu" press the
following keys on the phone keypad : 1#203*197*24*154# . To save the setting press "3".
Cisco AT T T T T A 186
Cisco A
Cisco A
Cisco A
Cisco A
A 186
A 186
A 186 configuration
A 186
configuration
configuration
configuration
configuration
x 3000 x 3001
ATA 186
172.16.104.117
1
The Cisco ATA 186 Analog Telephone Adaptor is a
handset to Ethernet adaptor that interfaces regular analog
phones with IP-based telephony networks. The ATA 186 has
two voice ports which will support analog telephones.
Cisco ATA 186 has one Ethernet port, and two
telephone ports (Phone1 and Phone2).
IVR Configuration
Menu Number
1
IP Address (StaticIP)
2
Default Gateway (StaticRoute)
10
Subnet Mask (StaticNetMask)
Feature
Advertisement

Summary of Contents for Cisco ATA 186
- Page 1 When the red light on the ATA 186 stops flashing, hang up the phone. To find out the IP address assigned to the device, pick up the telephone handset, and press the button on top of the ATA 186. You will hear a voice prompt that says, “Configuration Menu. Enter menu number followed by the # key…”...
- Page 2 Pressing the # key after you have entered the value is very important. IVR parameter Parameter If you do not press #, the system will automatically timeout after 10 check code seconds. The normal sequence is “ code # value # 3 “. IP Address Subnet Mask Once the IP address, default gateway and subnet mask are entered into the...
- Page 3 A sample of how the website looks is given below (please note that you have to enter data specific to your device for correct configuration): Cisco ATA with image V3.1.x(H323) Cisco ATA 186 (H323) Configuration ata000e8349dd31 Version: v3.1.1 atah323 (Build 040629A) MAC: 0.14.131.73.221.49...
- Page 4 ProductId: ATA186I1 Features: 0x00000000 HardwareVersion: 0x0006 0x0000 Cisco ATA with V2.15 or 2.16 image(H323) 1. Cisco ATA 186 Configuration ata000d6508d994 Version: v2.16 ata18x (Build 030401a) MAC: 0.13.101.8.217.148 SerialNumber: INM07276617 ProductId: ATA186I1 Features: 0x00000000 HardwareVersion: 0x0006 0x0000 Configuring Account,Network & Codec Settings for SIP : Once you get the ATA configuration page on the browser, please enter/check the following values: UIPassword is to be set to access password which will be known only to the user –...
- Page 5 A sample of how the website looks is given below (please note that you have to enter data specific to your device for correct configuration): Cisco ATA with image V3.1.x(SIP) Cisco ATA 186 (SIP) Configuration ata000d6508e9ab Version: v3.1.0 atasip (Build 040211A) MAC: 0.13.101.8.233.171...
- Page 6 Future Use The device (Cisco ATA 186) needs to be configured only once. For every new pack registered, you shall be assigned a PIN corresponding to the user ID chosen. You will have to simply enter this new PIN into the website (UID0/LogInID0 or UID1/...


