Advertisement
Quick Links
Turning the Radio On or Off
1. Rotate the On/Off/Volume Control knob clockwise. You will hear the self-test
pass tone and see the green LED indicator light momentarily.
2. Rotate the On/Off/Volume Control knob counterclockwise until you hear a
click and both the display and the LED indicators turn off.
Adjusting the Volume
1. Turn the On/Off/Volume Control knob clockwise to increase the volume, or
counterclockwise to decrease the volume.
Selecting a Radio Channel
1. Press the
or
button to select the desired channel.
Sending a Call
1. Turn radio on and select appropriate channel.
2. Press PTT button, hold the microphone 1 to 2 inches (2.5 to 5 cm) from your
mouth, and speak clearly into it.
3. Release PTT button to listen.
Receiving a Call
1. Turn radio on and adjust volume to the desired level.
2. Select desired channel.
3. To respond to an incoming call, press PTT button, hold the microphone 1 to 2
inches (2.5 to 5 cm) from your mouth, and speak clearly into it.
Starting or Stopping Scan
1. Press the preprogrammed Scan button to start scan. The green LED indictor
blinks during scan operation. Or, select a channel that has been prepro-
grammed to start Auto Scan.
2. Press the Scan button again to stop scan. Or, select a channel that has not
been preprogrammed to stop Auto Scan.
Deleting a Nuisance Channel During Scanning
1. While radio is on a nuisance channel, hold down preprogrammed Nuisance
Delete button until you hear a tone.
2. Release Nuisance Delete button.
™
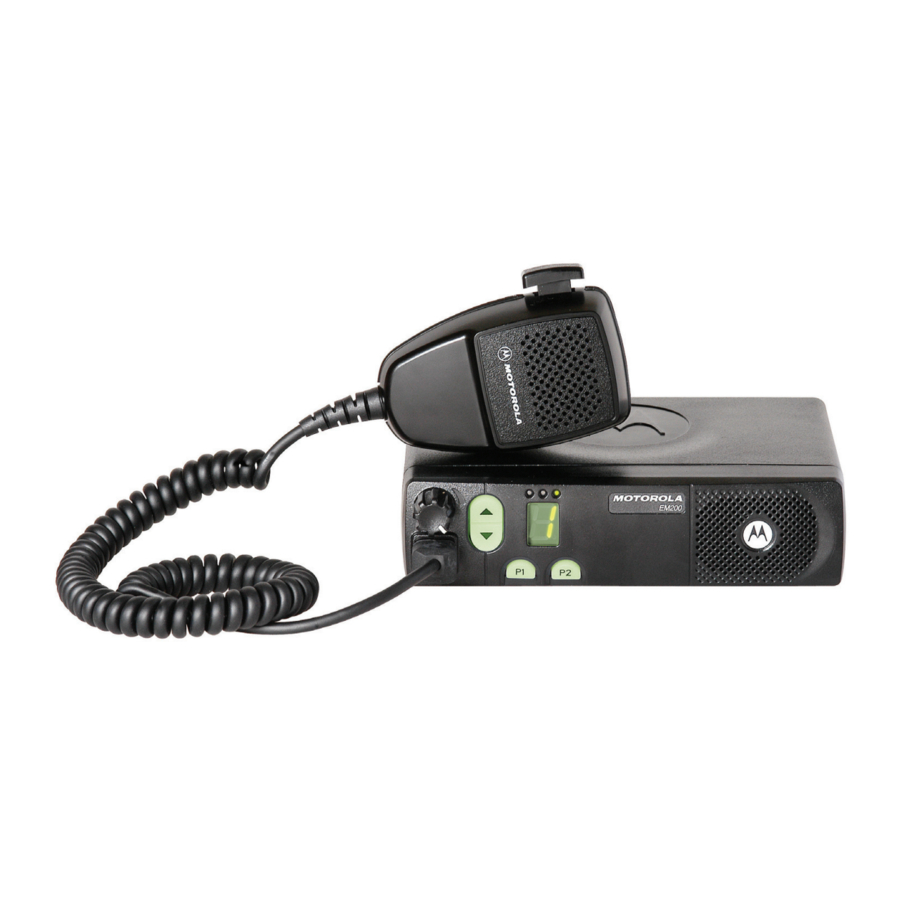
EM200
Quick Reference Card
Record the functions for your radio's programmable buttons in the table
provided below.
Red/Yellow/Green
LED Indicators
On/Off/Volume
Knob
Channel Selector
Microphone
Buttons
Jack
Button
Function
Short Press
7-Segment
Display
E
High Power
Programmable
Programmable
Button 2 (P2)
Button 1 (P1)
Long Press
Hold Down
Indicator
Page
Advertisement

Summary of Contents for Motorola EM200
- Page 1 1. Rotate the On/Off/Volume Control knob clockwise. You will hear the self-test pass tone and see the green LED indicator light momentarily. ™ EM200 Quick Reference Card 2. Rotate the On/Off/Volume Control knob counterclockwise until you hear a click and both the display and the LED indicators turn off.
- Page 2 LED Indicators Audio Indicators for Programmable Buttons LED State/Color Indication Programmable Positive Indicator Negative Indicator Button Tone Tone Radio Call Scan Start scan Stop scan Transmitting Power Level High power selected Low power selected Flashing Red Receiving Squelch Tight Squelch Normal Squelch Flashing Red Channel Busy...


