Table of Contents
Advertisement
Advertisement
Table of Contents

Summary of Contents for Motorola MOT43FLC03
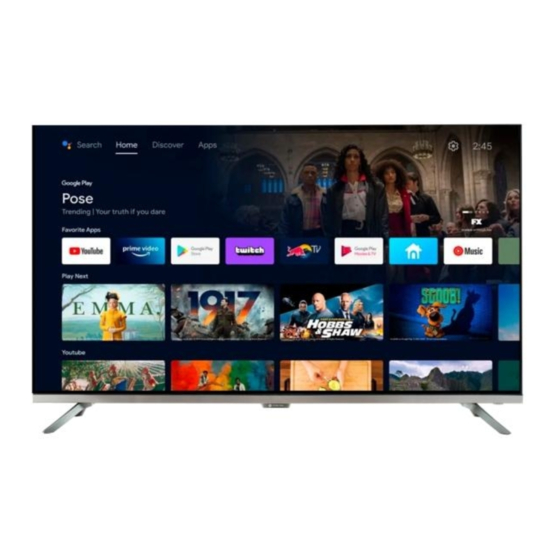
- Page 1 TV LED Hey Google User Manual MOT43FLC03 MOT50ULC03 MOT55ULC02 MOT65ULC03 Please read this manual carefully for proper use before installing and using the product. Keep it in a safe place for future reference. The images in this manual are for reference only.
-
Page 3: Table Of Contents
SAFETY WARNINGS Content Warning and safety notice ........1 Intallation and connection ........3 Package ............... 3 Tv installation ............3 Connecting peripheral equipment ...... 4 Control panel buttons ......... 6 Warning and safety notice Remote control............ 7 Thank you for choosing our multi-functional, high-performance Basic operations .......... - Page 4 SAFETY WARNINGS Warning Warning • Use only a 100-240 VAC, 50/60 Hz power source. Do not touch the plug with wet hands, as this • This TV must be connected to a 3-pin power outlet for may cause an electric shock. safety reasons.
-
Page 5: Intallation And Connection
SAFETY WARNINGS Atenttion Installtion y conecction • Packing If the same image is displayed for a long time or an TV crew. active image with fixed words, the icons will leave a “afterimage” on the screen that will not disappear and will User manual. -
Page 6: Connecting Peripheral Equipment
CONNECTION OF PERIPHERAL EQUIPMENT 43" Salida óptica ------- •JOP’ Al conector de alimentación (100-240 VGA, 50/60 Hz) Ventilation • Keep at least this space around the TV as shown in the figure. • Do not cover the vents or insert any object into the case. •... - Page 7 CONNECTION OF PERIPHERAL EQUIPMENT 50”-65" Warning Before connecting the external antenna to the TV signal port, turn off the power supply of the TV. Do not bring the external antenna close to the high-voltage electrical network to avoid electric shock. The wired network antenna connected to this TV must be isolated from protective earth, otherwise it may cause fire or other hazards.
-
Page 8: Control Panel Buttons
CONTROL PANEL BUTTONS Control panel buttons 43”-50” LED indicator for power on and remote control receiving window. Standby: Press this button to turn on the TV or return to standby mode. Important Electric LED indicator and remote receiving window. The appearance varies depending on the model, and OK Rocker: the actual product shall prevail. -
Page 9: Remote Control
REMOTE CONTROL Remote Control Remote control battery installation method Remove the battery compartment cover and insert two batteries AAA (N.7, 1.5 V). Make sure the polarity of the batteries matches the polarity markings “+” and in the battery compartment of the remote control. Precautions for using the remote control •... -
Page 10: Basic Operations
REMOTE CONTROL Bassic opertations Remote control buttons Important: Note: The actual appearance of the remote control may be Button operation is for operating the remote controller. different from the image; Please refer to the actual device. For the operation of the control panel buttons, refer to the description of the operation of "Panel Control keys". -
Page 11: Channel Scan
BASIC OPERATION Press the [ ◄] / [ ►] key to select an item in the menu. Quick Start instructions Press the [OK] key to enter the submenu. Press the [▲] [▼] key to adjust the value or setting. Basic fuctions Press the key [ H*s] on the remote control to display the home When the main menu appears on the screen, press the [S*ss] key to exit the main menu;... -
Page 12: Network Settings
BASIC OPERATION • How to install an application? Network settings • Wi-Fi Long press [ ] key, and select Get more apps, then press In smart mode, select Settings > Network & Internet > [OK] key to enter, search the apps you want to install. Wi-Fi and press [OK] key to turn on Wi-Fi, then the wireless •... -
Page 13: Important Statement Regarding Services Network
TROUBLESHOOTING Important statement about network services All content and services obtained from this TV belong to third • The browser cannot access any link. parties and are subject to the laws of copyright, patent, trademark or other intellectual property rights. Such content Ask the network administrator to get the available IP and services and services are for non-commercial purposes address and other parameters. -
Page 14: Technical Specifications
SPECIFICATIONS Technical specifications Unit Dimensions (length x width x height) and weight 43" 43" Resolution max. 1920 X 1080 Without base Without packaging: 958 x 72 x 558 (mm³) Optimal resolution 1920 X 1080@60Hz Without packaging: 958 x 223 x 610 (mm³) Power supply 100-240 VGA, 50/60 Hz Packaging: 1073 x 119 x 650 (mm³) - Page 15 SPECIFICATIONS Energy management VESA mode Power cosumption 43” Update frequency Mode Mode Resolution Normal operation <75 W 640 X 480 60 Hz Standby <0.5 W SVGA 800 X 600 60 Hz 1024 X 768 60 Hz SXGA 1280 X 1024 60 Hz Power cosumption 50"...
-
Page 16: Instructions For Installtion In Base
FOUNDATION BASE Base installation instructions Place the TV on a flat surface. Be sure to distinguish between the right and left of the stand and the front and rear of the stand, then insert the stands into the slots on the bottom of the TV according to the direction of the arrow in the figure. -
Page 17: Guarantee Certificate
CERTIFICATE OF GUARANTEE WARRANTY TERMS AND CONDITIONS Car Sound vision CIA. Ltda. ("Company") warrants that the product is free from manufacturing defects or any other defect as specified in the Terms and Conditions. The warranty will begin from the date of purchase of the product by the first end user ("Customer") and will be valid for the period described in the Terms and Conditions, which the Customer is deemed to have accepted at the time of purchasing the product. - Page 19 120201-1197...