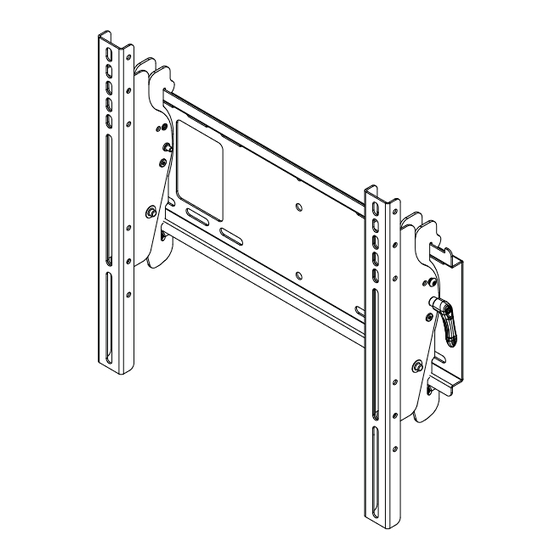
NEC E321 Installation And Assembly Manual
Flat screen wall mount
Hide thumbs
Also See for E321:
- Installation manual (8 pages) ,
- Specifications (2 pages) ,
- User manual (70 pages)
Advertisement
Installation and Assembly - Flat Screen Wall
Mount for NEC models:
ASPV32, ASPV40, E321, E421, E461,
LCD3210, LCD3215, LCD4020, LCD4215,
LCD4615, LCD4620, LCD5220, LCD5710,
M40, M46, P401, P461, P521, P551, S401,
S461, S521, SC40, SC46, V321, V421, V461,
X461HB, X461UN
This product is intended for use with UL
Listed products and must be installed by a
qualified professional installer.
R
Maximum UL Load Capacity: 150 Ib (68 Kg)
ISSUED: 03-26-10 SHEET #: 125-9106-3 08-04-10
Model: WMK3257
Advertisement
Table of Contents

Summary of Contents for NEC E321
- Page 1 Installation and Assembly - Flat Screen Wall Mount for NEC models: ASPV32, ASPV40, E321, E421, E461, Model: WMK3257 LCD3210, LCD3215, LCD4020, LCD4215, LCD4615, LCD4620, LCD5220, LCD5710, M40, M46, P401, P461, P521, P551, S401, S461, S521, SC40, SC46, V321, V421, V461,...
-
Page 2: Table Of Contents
Note: Read entire instruction sheet before you start installation and assembly. WARNING • Do not begin to install this product until you have read and understood the instructions and warnings contained in this Installation Sheet. If you have any questions regarding any of the instructions or warnings, please call customer care at 1-800-865-2112. -
Page 3: Parts List
Tools Needed for Assembly • stud finder ("edge to edge" stud finder is recommended) • phillips screwdriver • drill • 1/4" bit for concrete and cinder block wall • 5/32" bit for wood stud wall • level Accessories • 4 piece Metal Stud Fastener Kit (ACC 415) (Not UL listed) Before you begin, make sure all parts shown are included with your product. -
Page 4: Installation To Double Wood Stud Wall
Installation to Double Wood Stud Wall WARNING • Installer must verify that the supporting surface will safely support the combined load of the equipment and all attached hardware and components. • Tighten wood screws so that wall plate is firmly attached, but do not overtighten. Overtightening can damage the screws, greatly reducing their holding power. -
Page 5: Installation To Solid Concrete Or Cinder Block
Installation to Solid Concrete or Cinder Block WARNING • When installing this wall mount on cinder block, verify that you have a minimum of 1-3/8" of actual concrete thickness in the hole to be used for the concrete anchors. Do not drill into mortar joints! Be sure to mount in a solid part of the block, generally 1"... -
Page 6: Installing Tilt Brackets
Orientation Use Chart to Determine and Screws Secure extension brackets (L) to left tilt bracket (B) with four M5 x 6 mm socket pin serrated washer head screws (K). Height of tilt brackets may be adjusted using holes above and below center mounting location holes. -
Page 7: Installing Flat Panel Screen To Wall Plate
Mounting and Removing Flat Panel Screen WARNING • Always use an assistant or mechanical lifting equipment to safely lift and position the flat panel screen. • Do not tighten screws with excessive force. Overtightening can cause damage to mount. Tighten screws to 40 in. • lb (4.5 N.M.) maximum torque.


